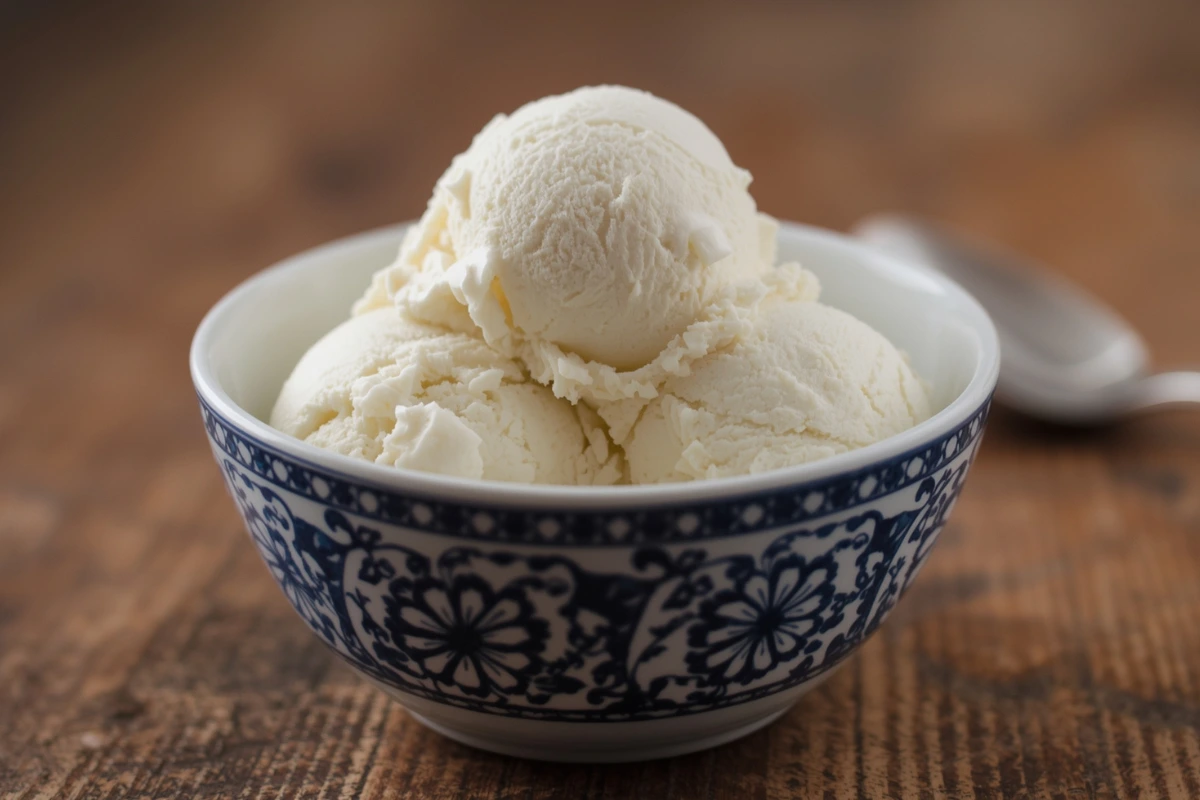
Hello, fellow dessert lovers! As a chef who truly believes in the magic of baking, there’s nothing quite like transforming simple ingredients into something unforgettable. Today, we’re talking about one of my absolute favorites: coconut ice cream. It’s more than just a sweet treat; it’s a creamy, dreamy escape that reminds me of sunny days and joyful gatherings.
This isn’t just any recipe; it’s your ticket to making the smoothest, most delightful homemade coconut ice cream right in your kitchen. This fantastic frozen dessert is perfect for any occasion, from backyard barbecues to a cozy night in. It’s wonderfully refreshing and offers a delightful tropical flavor. If you love refreshing treats, you might also enjoy making a batch of our delicious Iced Creamy Lemonade.
Whether you’re looking for a refreshing dairy-free dessert or simply adore the taste of coconut, this recipe is designed to bring smiles. It’s a truly versatile and delicious option for everyone. Get ready to churn up some pure happiness, because making your own coconut ice cream is surprisingly easy and incredibly rewarding!
Table of Contents
Table of Contents
What You’ll Need: Ingredients for Amazing Homemade Coconut Ice Cream
Gather your culinary tools and get ready to create the most luscious coconut ice cream. Here’s everything you’ll need to make this simple yet spectacular frozen dessert. Remember, quality ingredients make all the difference for the best dairy-free ice cream.
Here are your essential ingredients for a perfect batch:
- 1 1/2 cups full-fat canned coconut milk (make sure it’s not lite or coconut milk beverage)
- 1/2 cup additional coconut milk or your milk of choice (almond, soy, or more full-fat coconut milk work well)
- 1/3 cup sweetener of choice (granulated sugar, pure maple syrup, coconut sugar, honey, agave, brown sugar, or xylitol for a sugar-free option)
- 1/8 teaspoon salt
- 1 1/2 teaspoons pure vanilla extract
- Optional ingredients for different flavors (check our “Delicious Variations” section below for exciting ideas to customize your coconut ice cream!)
Whipping Up Magic: Step-by-Step Instructions for Coconut Ice Cream
This is where the magic happens! Making creamy coconut ice cream is a straightforward process. You can do this whether you have a fancy ice cream maker or not. Just follow these easy steps for a wonderfully smooth and delicious frozen dessert.
- Prep Your Coconut Milk: It’s super important to use full-fat canned coconut milk. Avoid the “lite” versions or coconut milk beverages, as the rich fat content is what makes this vegan ice cream wonderfully creamy. If your coconut milk has separated in the can (which is normal!), just warm the can in a bowl of hot water for a few minutes, then stir it gently until it’s smooth and combined.
- Combine Ingredients: Grab a medium-sized bowl. Whisk together the 1 1/2 cups of full-fat canned coconut milk, the additional 1/2 cup of your chosen milk, your sweetener, salt, and vanilla extract. Stir everything really well until your chosen sweetener completely dissolves. This creates the delicious base for your homemade coconut ice cream.
- Taste and Adjust: Now for a fun part – taste the mixture! This is your chance to make it perfect. You can add a little more sweetness or another pinch of salt if you like. Remember, flavors can seem a bit milder when frozen, so make the liquid base a tiny bit sweeter than you think you’ll want the final frozen dessert to be.
- Chilling (Important Step!): Don’t skip this one! For the creamiest results, especially if you’re using an ice cream maker, chill your mixture thoroughly. Place it in the fridge for a minimum of 4 hours—or for best results, let it chill overnight. A very cold base helps your coconut ice cream freeze faster and makes it super smooth, preventing icy bits.
- Ice Cream Maker Method: If you have an ice cream maker, simply pour the well-chilled mixture into its pre-chilled bowl. Then, churn it according to your machine’s directions. This usually takes about 20-30 minutes, and your coconut ice cream will reach a lovely soft-serve consistency.
- No-Churn Method (Without an Ice Cream Maker): No ice cream maker? No problem! For a fantastic no-churn coconut ice cream, pour your prepared mixture into ice cube trays. Freeze these for at least 4-6 hours, or until they are completely solid.
- Blend (No-Churn Only): Once your coconut ice cubes are frozen solid, transfer them to a high-speed blender (like a Vitamix) or a powerful food processor. Process everything together until you get a smooth, creamy consistency. You might need to pause and scrape down the sides a few times. If it’s too thick, add just a tiny splash of extra coconut milk to help it blend, but use as little as possible to keep it firm. This transforms your frozen coconut milk into amazing dairy-free ice cream!
- Serving Consistency: You can enjoy your homemade coconut ice cream right away for a soft, fresh-churned texture. Or, for a firmer, scoopable consistency, transfer it to a freezer-safe container and freeze for another 2-4 hours.
- Enjoy Your Treat: When you’re ready for a scoop, let your frozen coconut ice cream sit on the counter for 5-10 minutes. This little rest makes it much easier to scoop out perfect portions of your delightful tropical ice cream!
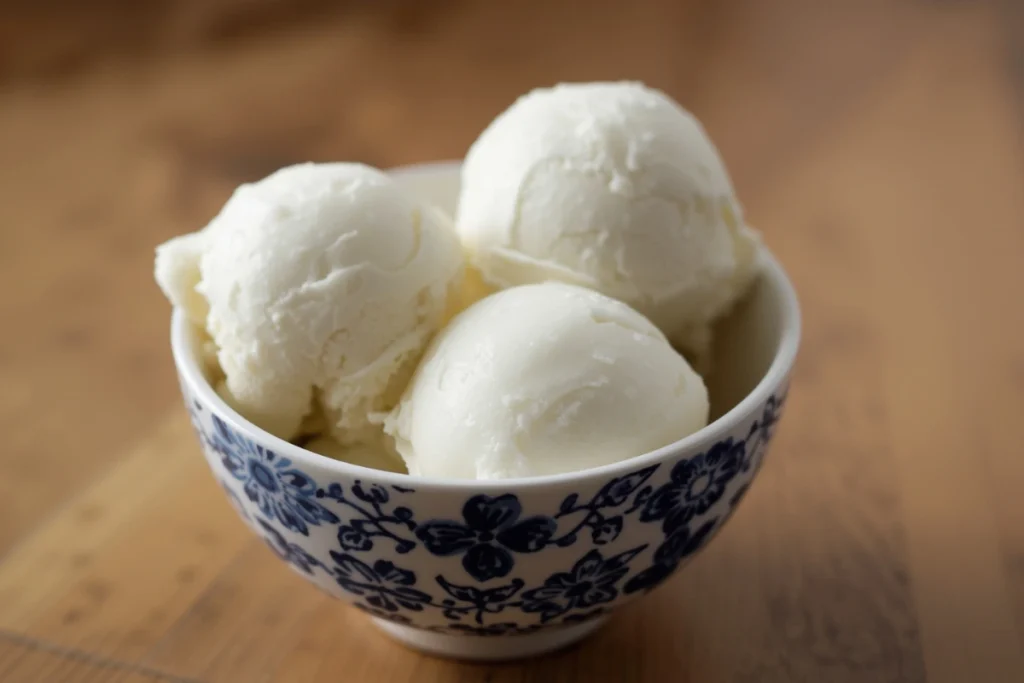
Chef’s Secrets for Perfect Coconut Ice Cream
Making the perfect scoop of coconut ice cream isn’t just about following steps; it’s about a few simple tricks that make all the difference. These chef’s secrets will help you achieve that wonderfully creamy texture and rich flavor in your homemade dairy-free ice cream.
- Full-Fat is Key: I can’t stress this enough! Always use full-fat canned coconut milk. The higher fat content is what gives your coconut ice cream its incredible creaminess. It also prevents it from becoming icy. Lite coconut milk simply won’t yield the same luscious result for this vegan ice cream.
- Chill Thoroughly: Don’t skip the chilling step for your base mixture. A super cold base freezes faster and creates smaller ice crystals. This leads to a smoother, less icy homemade ice cream. This step is especially important if you’re using an ice cream maker.
- Sweetener Choices: You have flexibility with your sweeteners. Pure maple syrup and agave can result in a slightly softer scoop, giving your frozen dessert a lovely consistency. Granulated sugar or coconut sugar, however, might give a firmer texture to your coconut ice cream. Customize it to your taste—experiment until you land on your perfect version. Xylitol is a great option if you’re aiming for a sugar-free ice cream.
- A Pinch of Salt: That tiny bit of salt isn’t just for flavor. It helps balance the sweetness and truly brings out the natural coconut flavor in your frozen treat. Don’t leave it out!
- Storage Savvy: While homemade coconut ice cream is truly best enjoyed the day it’s made, you can keep it frozen for up to a few weeks. Store it in an airtight container to keep it fresh. To prevent freezer burn and maintain that creamy texture, press a piece of parchment paper or plastic wrap directly onto the surface of the ice cream before sealing the container. When you’re ready to enjoy, just let it thaw on the counter for 15-20 minutes to reach a perfect scooping consistency.
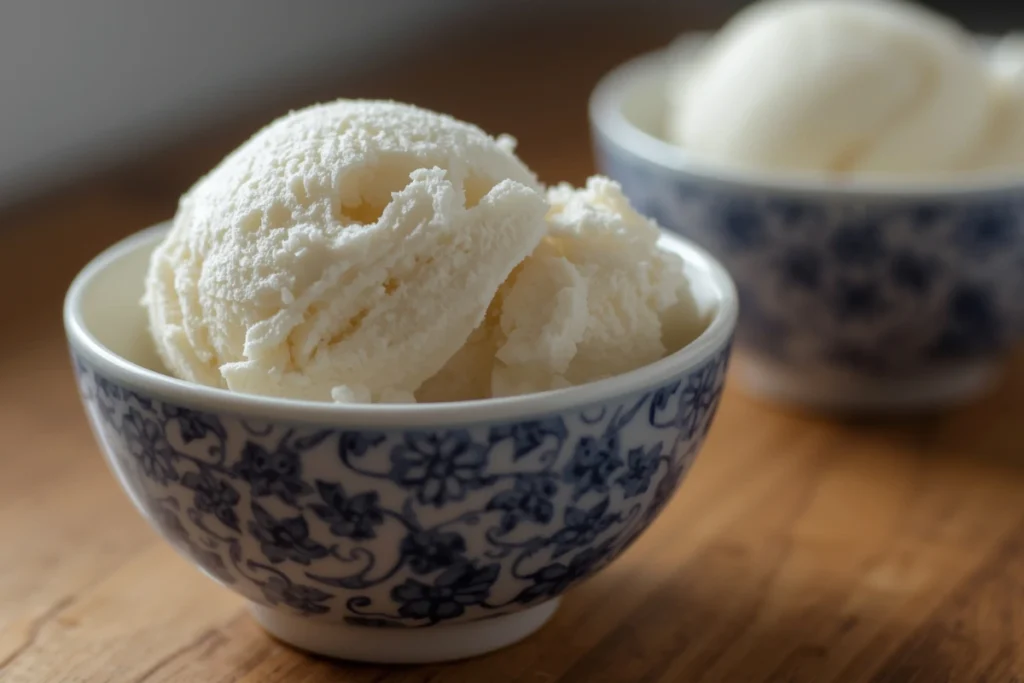
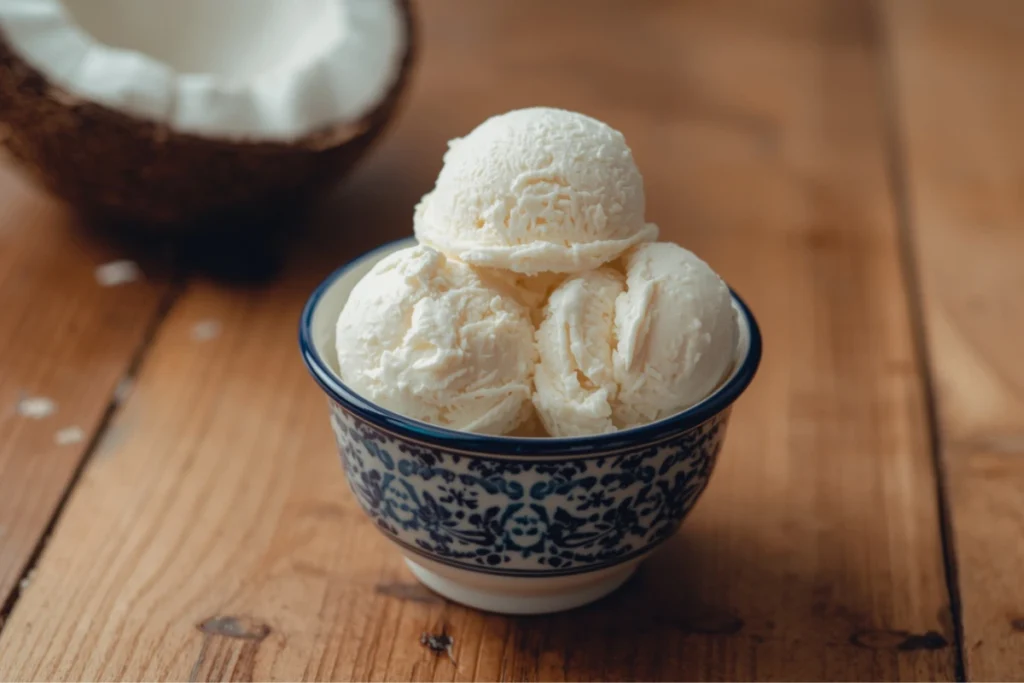
Delicious Variations of Coconut Ice Cream
The beauty of making your own coconut ice cream is the endless possibilities for customization! Once you master the basic recipe, you can easily turn your simple dairy-free ice cream base into a myriad of exciting flavors. Get ready to experiment with your homemade frozen dessert!
- Chocolate Chip Coconut Ice Cream: Fold in 1/2 cup of your favorite dairy-free chocolate chips or chopped dark chocolate. Add them during the last few minutes of churning, or stir them in after blending for the no-churn method. The rich chocolate perfectly complements the creamy coconut ice cream.
- Tropical Mango Swirl: Blend 1 cup of fresh or frozen mango chunks into a smooth purée. Swirl this vibrant mango purée into your coconut ice cream right after churning or blending. It creates a refreshing and truly tropical coconut ice cream.
- Toasted Coconut Ice Cream: For even more coconut flavor, toast 1/2 cup of unsweetened shredded coconut. Spread it on a baking sheet and bake at 325°F (160°C) for 5-10 minutes until golden. Let it cool, then fold into your vegan ice cream for added texture and deep flavor.
- Coffee Coconut Ice Cream: Want a kick? Dissolve 1-2 tablespoons of instant espresso powder or strong brewed, chilled coffee into your liquid base mixture before churning. This creates a rich and energizing coffee-flavored coconut ice cream.
- Berry Burst: Add 1 cup of fresh or frozen mixed berries (like strawberries, raspberries, or blueberries) during the last few minutes of churning. Or, fold them in after blending. For a smoother texture, you can lightly mash the berries first. This adds a lovely fruity tang to your homemade ice cream. If you love berry-infused treats, you might also enjoy our recipe for Orange Creamsicle Ice Cream, which offers another delightful fruity twist.
- Nut Butter Swirl: Swirl in 1/4 to 1/2 cup of creamy peanut butter or almond butter after churning or blending. The nutty richness pairs wonderfully with the subtle sweetness of the coconut ice cream, creating a truly indulgent treat.
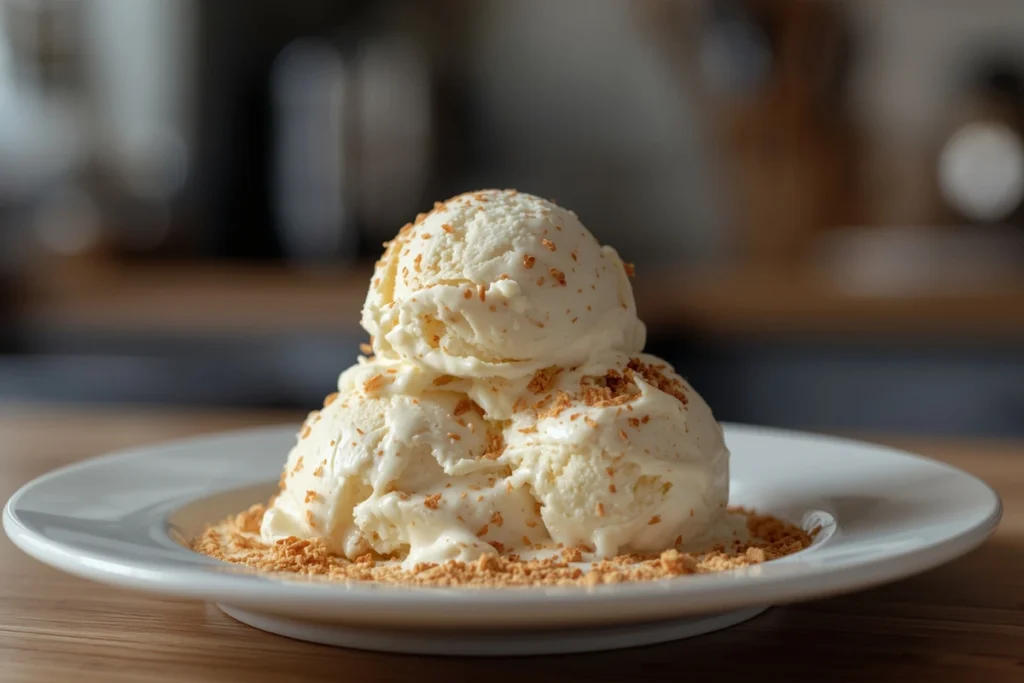
Frequently Asked Questions (FAQ) about Coconut Ice Cream
I often get questions from fellow bakers about making their own coconut ice cream. It’s wonderful to see so much curiosity! Here are some common queries and their answers to help you on your dessert journey.
What is coconut ice cream made from?
Coconut ice cream is mainly made from full-fat canned coconut milk, which replaces traditional dairy cream, along with a sweetener (like sugar or pure maple syrup), a little pinch of salt, and vanilla extract for flavor. Sometimes, folks like to add other yummy things like fruit, chocolate chips, or different flavorings. It’s a wonderful dairy-free and often vegan alternative to traditional ice cream, offering a lovely tropical flavor. For more inspiration on making amazing **coconut ice cream**, you can also check out resources like Chocolate Covered Katie’s Coconut Ice Cream Recipe.
How healthy is coconut ice cream?
While coconut ice cream can be a healthier alternative for those avoiding dairy or looking for a plant-based option, its healthiness depends on the ingredients you choose. Full-fat coconut milk does contain saturated fat, which gives it that incredible creamy texture. But it also has beneficial fats called medium-chain triglycerides (MCTs). When you make it at home, you get to control the type and amount of sweetener, so you can easily reduce added sugars compared to many store-bought options. It can certainly be a delicious and nutritious treat in moderation!
Can coconut milk be used for ice cream?
Absolutely! Coconut milk is an excellent base for making ice cream, especially for dairy-free or vegan options. Its high-fat content, particularly in full-fat canned varieties, helps create a wonderfully creamy texture. This creamy texture closely mimics traditional dairy ice cream, making it a fantastic substitute. It’s truly a versatile ingredient for all sorts of homemade frozen desserts.
Can you freeze coconut milk?
Yes, you can absolutely freeze coconut milk! This is a fantastic way to store any leftover coconut milk if you don’t use a whole can. It’s also perfect if you’re preparing for a no-churn coconut ice cream recipe that calls for frozen cubes. Just pour it into ice cube trays and freeze until solid. Once frozen, you can transfer the cubes to a freezer-safe bag or container for longer storage. When you’re ready to use it, you can thaw it in the refrigerator or blend it directly for recipes, like our no-churn ice cream method!
My Sweet Journey: A Personal Story with Coconut Ice Cream
Every dessert tells a tale, and for me, coconut ice cream holds a truly special place. I still remember the first time I fell completely in love with it. I was about 10 years old, enjoying a family trip to a beautiful tropical island.
After a long, sunny day of exploring, my grandmother bought me a scoop of what they called “coconut fantasia.” It was incredible – unlike anything I had ever tasted! This frozen dessert was so creamy, wonderfully refreshing, and had that unmistakable tropical hint of coconut. It felt like pure bliss.
When we came back home, I just had to recreate it. I begged my grandma to help! We spent a whole afternoon in her kitchen, mixing different amounts of coconut milk and sugar. We were determined to capture that same magic. We didn’t even have an ice cream maker back then, so we used a simple ice bath, stirring every 15 minutes by hand! The result wasn’t perfect, but it was our very own homemade coconut ice cream, and it tasted like victory. From that day on, coconut ice cream became a symbol of summer fun and family togetherness for me.
It’s a simple treat, but it carries so many happy memories. That’s why I love creating and sharing recipes like this delightful dairy-free ice cream with all of you. If you’re interested in exploring more classic **ice cream recipes**, there are many wonderful resources available, like this Coconut Ice Cream from Allrecipes.
Conclusion: Enjoy Your Homemade Coconut Ice Cream!
And there you have it! A wonderfully simple recipe for incredibly delicious coconut ice cream that’s sure to become a new favorite. I truly hope you enjoy making and sharing this creamy, dreamy frozen dessert as much as I do.
It’s such a joy to see how a few basic ingredients can transform into something so special, bringing smiles and sweet memories with every scoop. Don’t be afraid to get creative with your toppings or try out some of the delightful variations mentioned earlier. Whether you’re enjoying it on a hot summer day or as a treat anytime, this homemade coconut ice cream is a pure taste of happiness. Happy churning, my friends!
Print
Coconut Ice Cream
- Total Time: 15 minutes
- Yield: 4 servings
Description
Make delicious coconut ice cream at home! This easy recipe guides you through creating creamy, dairy-free frozen dessert with simple steps and delightful variations.
Ingredients
1 1/2 cups full-fat canned coconut milk
1/3 cup sweetener of choice
1/8 teaspoon salt
1 1/2 teaspoons pure vanilla extract
Instructions
1. Prep Your Coconut Milk: Ensure you are using full-fat canned coconut milk, not the lighter versions or coconut milk beverage, as the fat content is crucial for a rich, creamy vegan ice cream. If your canned coconut milk has separated, simply warm the can in a bowl of hot water for a few minutes or gently stir it until it’s smooth and combined.
2. Combine Ingredients: In a medium-sized bowl, whisk together the 1 1/2 cups of full-fat canned coconut milk, the additional 1/2 cup of milk of choice, your chosen sweetener, salt, and vanilla extract. Stir well until the sweetener is completely dissolved. This forms the base of your delightful coconut ice cream.
3. Taste and Adjust: Give the mixture a little taste! This is your chance to adjust the sweetness or add a pinch more salt if desired. Remember, flavors can be a bit muted when frozen, so make it slightly sweeter than you’d prefer.
4. Chilling (Important Step!): For the best results, especially with an ice cream maker, chill your mixture thoroughly in the refrigerator for at least 4 hours, or even better, overnight. A well-chilled base helps your coconut ice cream freeze faster and creamier.
5. Ice Cream Maker Method: If you have an ice cream maker, pour the chilled mixture into your pre-chilled ice cream maker bowl. Churn according to your manufacturer’s directions. This usually takes 20-30 minutes until the coconut ice cream reaches a soft-serve consistency.
6. No-Churn Method (Without an Ice Cream Maker): For a no-churn coconut ice cream, pour the mixture into ice cube trays. Freeze for at least 4-6 hours, or until solid.
7. Blend (No-Churn Only): Once the coconut ice cubes are frozen, transfer them to a high-speed blender (like a Vitamix) or a powerful food processor. Blend until smooth and creamy, scraping down the sides as needed. You might need to add a tiny splash of extra coconut milk to get it moving, but use as little as possible to maintain a firm texture. This turns your frozen coconut milk into amazing no-churn coconut ice cream.
8. Serving Consistency: Either eat your homemade coconut ice cream straight from the machine or blender for a soft-serve texture, or transfer it to a freezer-safe container and freeze for another 2-4 hours for a firmer, scoopable consistency.
9. Enjoy Your Treat: When ready to serve, let your frozen coconut ice cream sit at room temperature for 5-10 minutes to soften slightly, making it easier to scoop.
Notes
You can customize the base with chocolate chips, mango puree, berries, toasted coconut, coffee, or nut butter. Use xylitol for a sugar-free version. This recipe is naturally dairy-free and vegan. Use parchment or plastic wrap on the surface during storage to avoid freezer burn.
- Prep Time: 15 minutes
- Category: Dessert

